
01
PREPARE
Remove Supports
Take away the main supports and loose material from your completed print before refining the smaller imperfections.
Deburring Tool
Couldn't load pickup availability
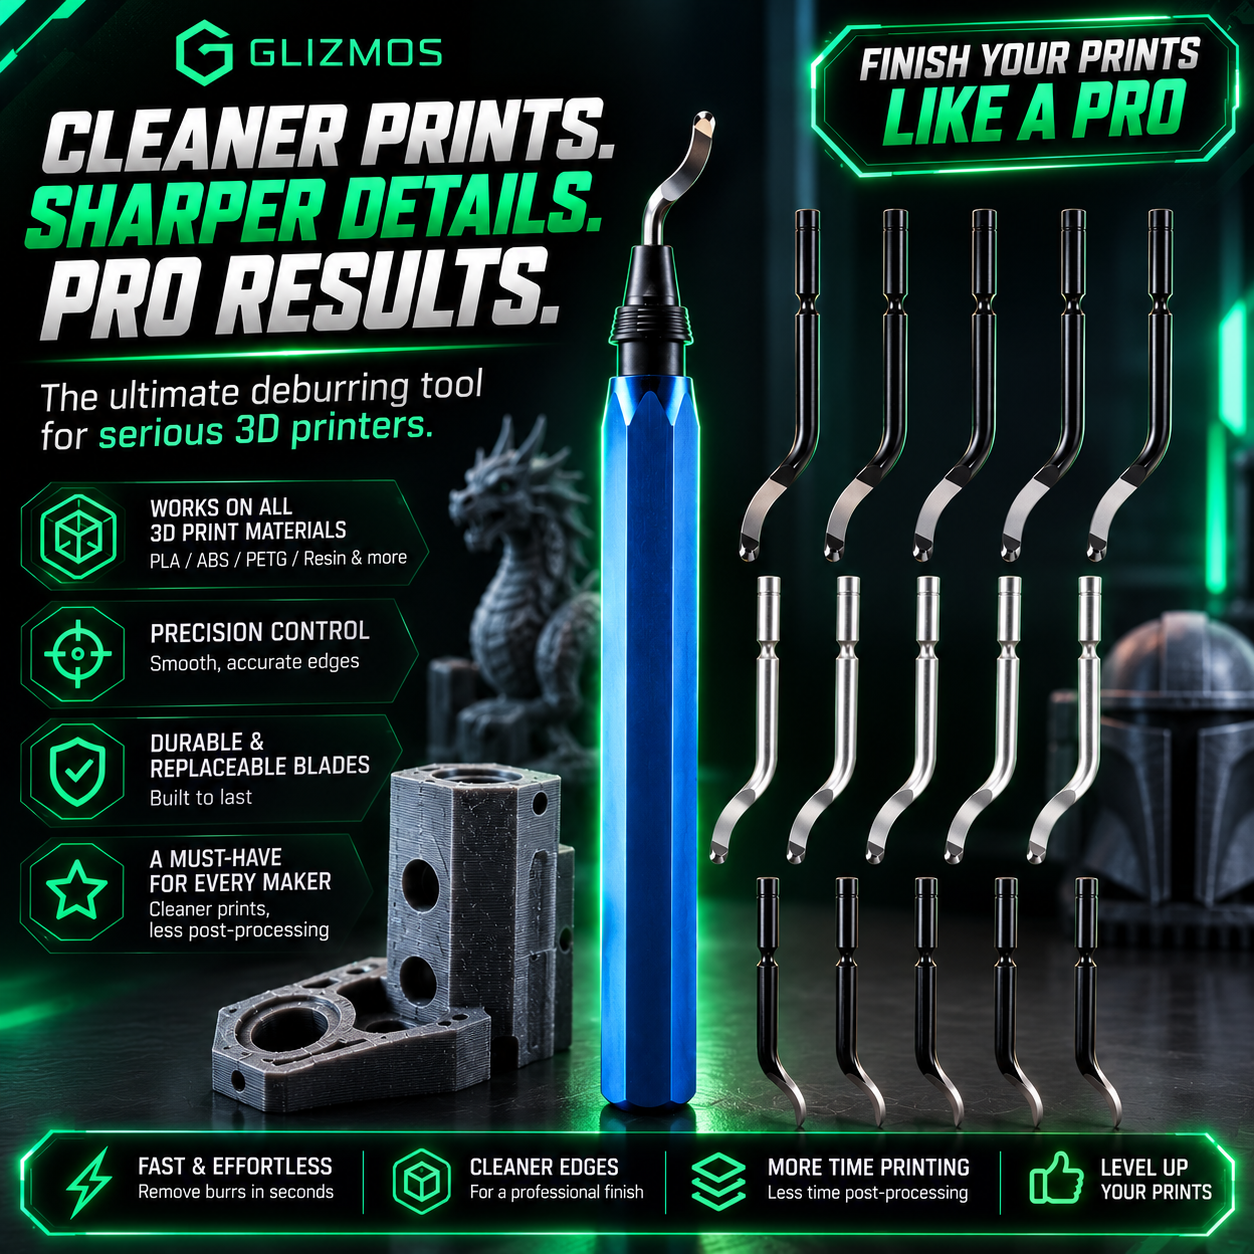
Even the best 3D printers can leave behind rough edges, sharp corners, support marks, and unwanted plastic burrs.
Glizmos EdgeForge™ removes those imperfections in seconds, helping your prints look cleaner, feel smoother, and appear more professional before painting, assembling, selling, or displaying.
 EDGEFORGE™ IN ACTION
EdgeForge™ cleans up the print. Glizmos Precision Paint Markers add the color. Bundle them together for a simple post-processing setup built for 3D printing.
Clean rough edges first, then add color and detail to your finished print.
Reach edges, recessed areas, small features, and fine details with control.
Choose the marker set that fits your projects, from essential colors to larger collections.
Add acrylic color without compressors, paint mixing, or a complicated workstation.

Raw 3D prints can leave behind burrs, support marks, sharp edges, and unwanted plastic that make an otherwise successful model look unfinished. Glizmos EdgeForge™ removes those imperfections in a few controlled passes.
Remove rough plastic and loose material without spending hours sanding.
Create a cleaner surface so primer and paint can apply more evenly.
Give models, functional parts, prototypes, and props a refined finish.
 EDGEFORGE™ RESULTS

Pair your Glizmos EdgeForge™ Deburring Tool with Glizmos Acrylic Paint Markers and go from rough print to finished model with one simple creator setup.
Remove rough edges, support marks, and excess plastic before adding color.
Paint edges, highlights, recesses, and small details directly at your desk.
Clean, refine, and paint your models with tools designed for 3D printing creators.
Everything you need to take a raw print closer to a display-ready finish.

Remove support marks, trim rough plastic, and prepare your print for painting, assembly, selling, or display with Glizmos EdgeForge™.
Take away the main supports and loose material from your completed print before refining the smaller imperfections.
Use light, controlled passes while the blade follows curves, holes, corners, and rough printed surfaces.
Your print is now cleaner, smoother, and ready for the next stage of your creative or production workflow.
 EDGEFORGE™ IN ACTION
Everything you need to know about using Glizmos EdgeForge™ to remove burrs, clean support marks, and give your 3D prints a more professional finish.