

01
CLEAN
Remove Supports & Loose Plastic
Clear away the main supports and unwanted material before moving into the finer finishing stage.
Paint the smallest details with confidence.
Excellent coverage on dark and light prints.
Start painting immediately without an airbrush.
Perfect for miniatures, props, cosplay and models.
Couldn't load pickup availability
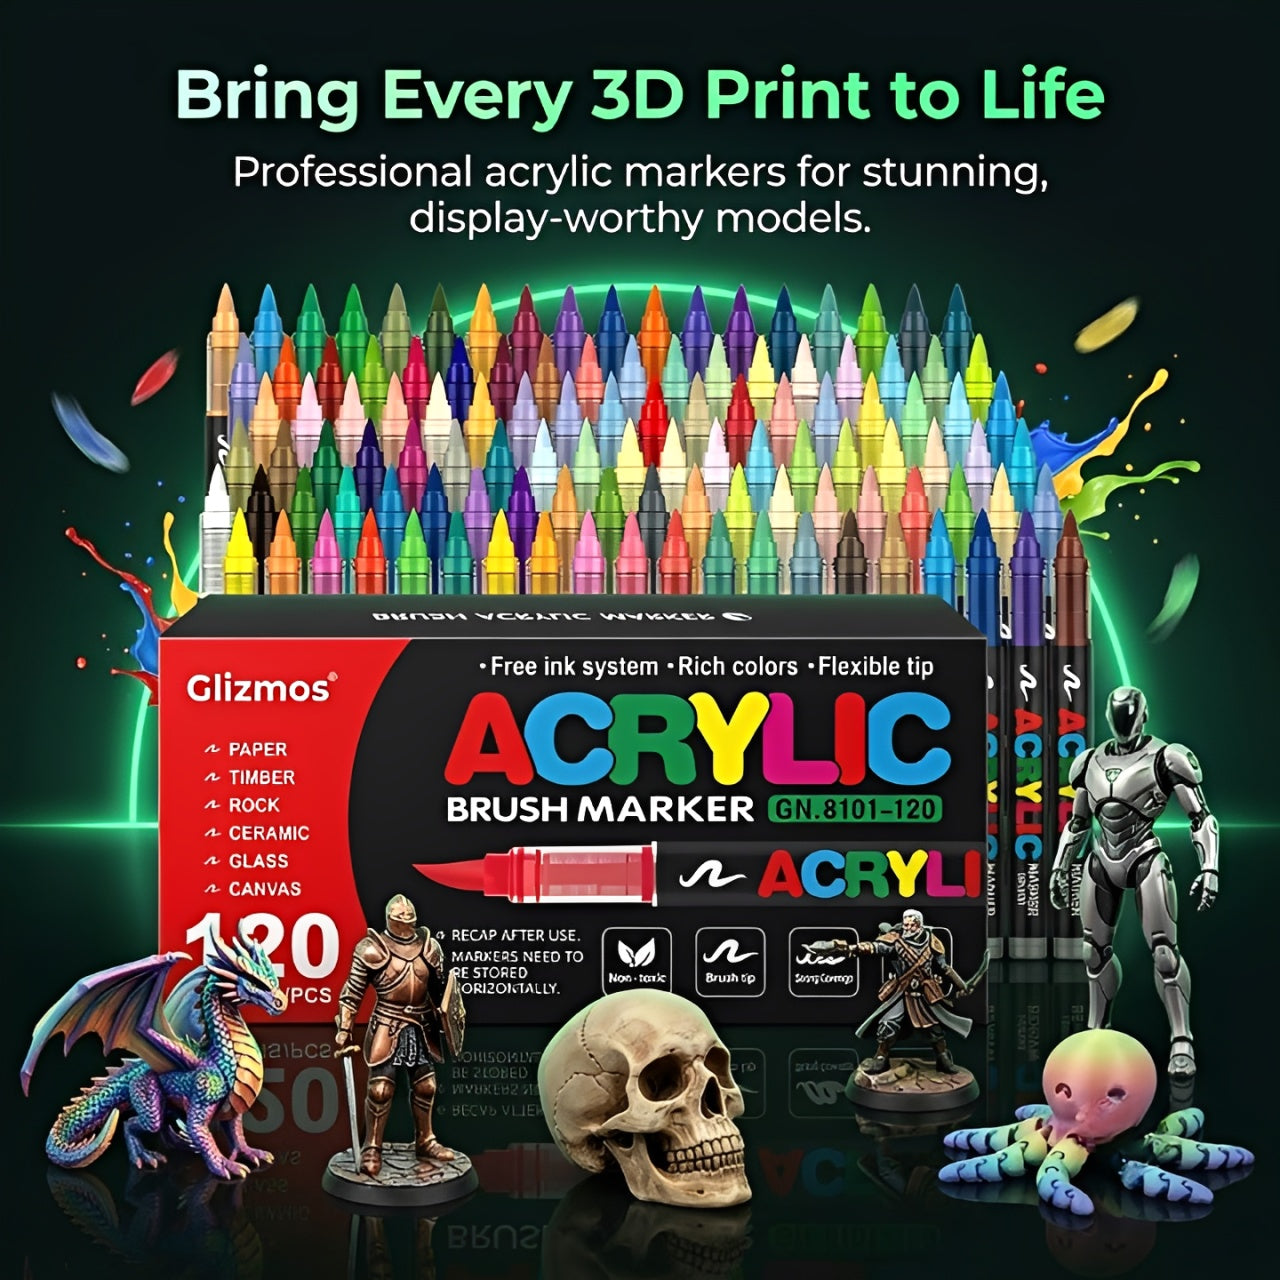
Reach small features, edges, and recessed areas.
Add vibrant coverage directly to your prints.
Start painting without compressors or cleanup.
Ideal for miniatures, props, models, and cosplay.

Before you add color, clean away the rough edges, support marks, and unwanted plastic that can make a finished model look unfinished.
Pair your Glizmos Acrylic Markers with the Glizmos EdgeForge™ Deburring Tool to prepare your prints before painting. A few controlled passes can help create cleaner edges, smoother contours, and a better-looking base for your detail work.
 EDGEFORGE™ IN ACTION
Add color and definition to areas that look flat or unfinished.
Reach edges, grooves, facial features, and textured surfaces.
Skip compressors, paint mixing, and complicated cleanup.
Ideal for miniatures, props, figures, cosplay parts, and display models.

Get cleaner, more detailed finishes without compressors, paint mixing, ventilation systems, or long cleanup routines.
Shake, open, and start adding color directly to your print.
Move from raw plastic to detailed color without extra equipment.
Perfect for quick corrections, highlights, edges, and small details.
A compact painting workflow built around real 3D printing projects.

Clean away rough edges and leftover support material before painting, so your Glizmos Acrylic Markers have a cleaner surface to work on.
Clear away the main supports and unwanted material before moving into the finer finishing stage.
Guide the blade with light, controlled passes along curves, holes, corners, and rough printed edges.
Once the print is cleaner and refined, use your Glizmos Acrylic Markers to add highlights, details, color, and finishing touches.
 EDGEFORGE™ IN ACTION
From broad color coverage to precision highlights, every marker is designed to make finishing your models faster, cleaner, and easier to control.
Move smoothly between broad surfaces, narrow edges, panel lines, raised textures, and small model details with controlled brush-like strokes.
Apply vibrant acrylic color across commonly used 3D printing surfaces, including PLA, PETG, ABS, and properly prepared resin models.
Skip compressors, paint mixing, and complicated cleanup. Shake the marker, activate the tip, and start improving your print directly at your desk.
Learn how to prepare your prints, use your markers correctly, protect the finished surface, and keep every color ready for your next project.
Yes. You can apply the acrylic markers directly to clean PLA, PETG, ABS, and properly cured resin prints. However, primer is recommended when you want smoother coverage, stronger color, and a more consistent professional finish.
Primer is not always required, but it can noticeably improve adhesion and color consistency. It also helps create a uniform surface after sanding, filling, or combining printed parts made from different materials.
The brush tip gives you more control than a loose paint wash, but applying too much paint at once can still cause pooling. Use light pressure, build color gradually, and let each layer dry before adding more around panel lines and small recesses.
Shake the marker thoroughly with the cap closed. Then press the tip gently against a protected test surface several times until paint begins flowing evenly. Avoid over-pumping, as this can release more paint than you need.
Yes. You can build stronger color using multiple thin layers after the previous coat has dried. For corrections, allow the surface to dry before carefully covering the area again. Blending is easiest while the paint is still slightly workable.
Yes. After the acrylic paint has dried completely, you can apply a compatible matte, satin, or gloss clear coat to help protect the finish. Test the sealer on a small area first and apply several light coats instead of one heavy coat.
Wipe excess paint from the tip before replacing the cap. Keep every cap tightly closed and store the markers horizontally in a cool, dry place. This helps maintain even paint flow and reduces the chance of the brush tips drying out.
Designed for creators who want cleaner details without the setup, maintenance, and workspace demands of a traditional airbrush system.